From Seed to Savory: The Art of Growing Delicious Capers at Home
Capers (Capparis species) are a small but mighty ingredient that has been used in Mediterranean cuisine for centuries. These pickled flower buds add a tangy, salty flavor to dishes such as pasta sauces, salads, and seafood dishes. Capers are also known for their numerous health benefits; they’re packed full of antioxidants and anti-inflammatory properties that may help improve heart health and reduce the risk of cancer.
The Benefits of Growing Your Own Caper Plant
While capers can be easily found at most grocery stores, there’s something special about growing your own plant from seed. Not only is it a rewarding experience to care for a plant and harvest its fruits, but it also ensures that you’re getting the freshest, highest quality capers possible. Additionally, growing your own caper plant allows you to control the amount of salt and vinegar used in pickling the buds – creating a healthier option that still packs the same flavor punch.
Why Grow Capers from Seeds?
Growing capers from seeds is an affordable alternative to purchasing plants or cuttings. It also allows you to choose from a wider variety of seeds – both in terms of flavor and size of the resulting plant. Starting caper plants from seeds also offers greater flexibility when it comes to planting times – you can start them indoors in late winter or early spring, or wait until the soil has warmed up enough in late spring or early summer to plant them outside directly into the garden beds or containers on your balcony or patio.
Growing your own caper plant not only ensures that you have access to fresh and healthy ingredients but it’s also an enjoyable process with delicious rewards. In the next section, we’ll take a look at how you can prepare yourself for starting your own seedlings!
Preparing to Grow Caper Seeds
Sourcing High-Quality Caper Seeds
Before starting your caper seed growing journey, it is important to ensure that you have purchased high-quality seeds from a reputable seller. Look for seeds that have been harvested recently, as these will be more likely to germinate successfully.
It is also important to choose seeds from a plant species that is suitable for your local climate. If you are unsure about which variety of caper plants is best suited for your area, consult with a local gardening expert or nursery.
Choosing the Right Soil and Container for Planting
Caper plants require well-draining soil with good air circulation and plenty of nutrients. You can create this type of soil by mixing equal parts of sand and potting soil together.
When it comes to containers, choose one that is large enough to allow ample root growth but not so large that it holds too much excess water. Terra cotta pots are a great option because they allow the soil to breathe and moisture to evaporate easily.
Properly Watering and Fertilizing the Seeds
Once you have chosen your container and filled it with the appropriate soil mixture, it’s time to plant your caper seeds. The key to successful germination is keeping the soil consistently moist during this early stage.
Use a spray bottle or mister to water the seeds gently until they begin sprouting. When it comes to fertilization, utilize a slow-release fertilizer once every three months during the growing season (spring through fall).
Avoid overfeeding, as this can lead to overly bushy plants without producing many capers. It’s important not only what fertilizer you use but when you apply it too; apply fertilizer when new growth starts showing up after winter dormancy or once flowers start blooming in spring.
By following these tips on sourcing high-quality caper seeds, choosing the right soil and container for planting, and properly watering and fertilizing the seeds, you can help ensure the successful growth of your caper plants. With a little care, patience, and attention to detail, you’ll be harvesting fresh capers from your very own homegrown plant in no time!
Germination Process
The Importance of Temperature and Light for Germination
When it comes to germinating caper seeds, temperature is crucial. Ideally, the seeds should be kept at a temperature of around 70-80°F (21-27°C) for optimal growth. A consistent temperature is important as fluctuations can cause stress on the plant which could stunt its growth or even kill it.
Make sure to place the container in a warm and sunny spot, but avoid exposing it to direct sunlight as this could overheat the soil. Light is also an essential factor in the germination process.
Capers require plenty of sunlight to grow, so make sure your container is placed somewhere with ample light exposure. If you don’t have access to natural light or live in an area with insufficient sun exposure, you can use artificial lights such as fluorescent bulbs or LED lights specifically designed for plant growth.
Tips for Ensuring Successful Germination
To ensure successful germination, there are a few tips that can be followed. Firstly, make sure that your soil mixture is well-draining and moist but not waterlogged – excess water can lead to seed rotting which will prevent germination from occurring. Secondly, keep the soil consistently moist throughout the germination process by misting it with water regularly using a spray bottle.
Another tip is to use a plastic cover or saran wrap over your container during germination to retain moisture and heat around the seedlings while they are still fragile and young. This will create a mini greenhouse effect that will help give them an extra boost in their early stages.
Timeline for Germination Process
Germinating caper seeds can take anywhere from 15 days to three months depending on several factors such as temperature consistency, soil moisture levels, and light exposure. It’s important not to become too impatient – even if it seems like nothing is happening, the seeds may still be germinating under the surface.
Patience is key when growing capers from seeds – wait until you see a good amount of growth before transplanting them into larger containers or moving them outdoors. Once the plant has reached maturity, it should produce capers for many years to come.
Caring for Capers Seedlings
Transplanting seedlings to larger containers
Once your caper seeds have germinated and the seedlings have grown a few inches tall, it’s time to transplant them into larger containers. Choose a container that is at least 6 inches in diameter and 8 inches deep. Fill the container with well-draining soil and make a hole in the center of the soil big enough to accommodate the root ball of your seedling.
Carefully remove the seedling from its previous container by gently squeezing the sides of the pot, and loosening up any roots that may be stuck to it. Place it in its new home and fill it with soil around it, making sure there are no air pockets.
Providing adequate sunlight, water, and nutrients
Caper plants thrive in sunny locations with well-draining soil. They require at least 6 hours of direct sunlight each day to grow properly.
Make sure your containers are placed in an area where they can get abundant sunlight throughout the day. Water them regularly – they prefer moist but not overly wet soil – and feed them every four weeks with a balanced fertilizer that’s low in nitrogen.
Pruning and shaping the plants
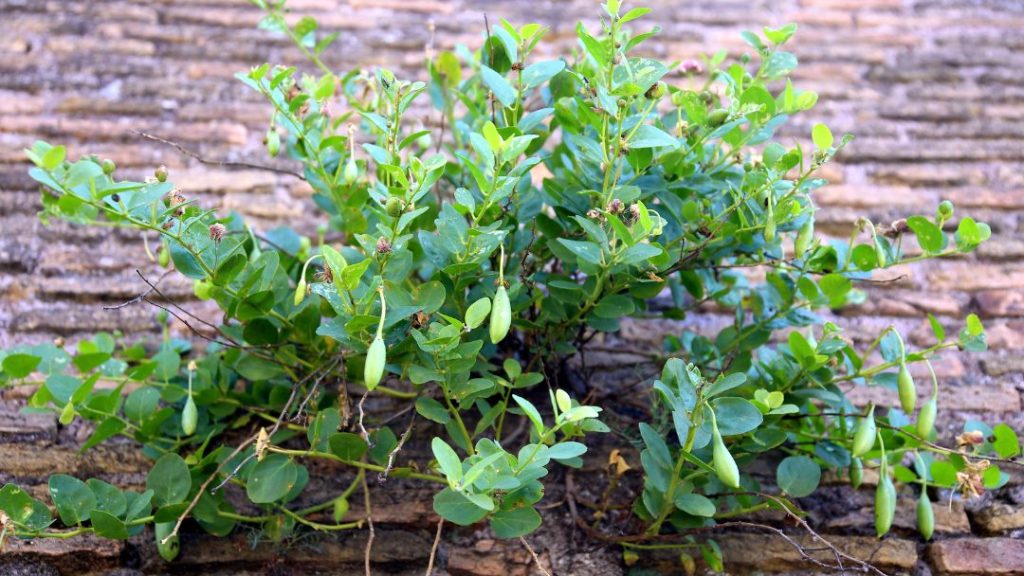
Pruning is important for shaping caper plants into neat bushes that produce plenty of flavorful buds without becoming too unruly or bushy. It’s best to prune your caper plants during early spring before they start producing buds actively.
Remove any dead or diseased branches first before trimming off any new growth that appears soft or weakly attached to older branches. Keep an eye out for suckers growing beneath ground level as well as small shoots coming from beneath leaf nodes on older branches – these can sap vital energy from other parts of your plant if left unchecked.
Taking care of caper seedlings requires patience and attention to detail. By transplanting them into larger containers, providing them with adequate sunlight, water, and nutrients, and shaping them through pruning, they will grow into healthy, productive plants that will provide delicious capers for years to come.
Harvesting Capers from Seed-Grown Plants
When to Expect a Harvest from Seed-Grown Plants
Growing capers from seeds can be a long process, and it may take several years before the plants produce any viable capers. However, with patience and care, you can expect to see your first harvest in about three to four years after planting. Capers are typically harvested in the late spring or early summer months when the buds are still small and firm.
Once they mature and open up into flowers, they are no longer suitable for culinary use. Keep an eye on your plants as they grow and look for signs of budding so you can prepare to harvest at the right time.
Techniques for Harvesting Capers without Damaging the Plant
The key to harvesting capers without damaging the plant is to use a gentle touch. You will need a pair of sharp scissors or gardening shears to snip off each bud at its base without disturbing the rest of the plant. Take care not to break off any leaves or stems while harvesting.
You can also strip larger branches of caper buds by gently running your fingers down them and pulling off any buds that feel plump and firm. Always handle caper buds delicately, as they are easily bruised or crushed.
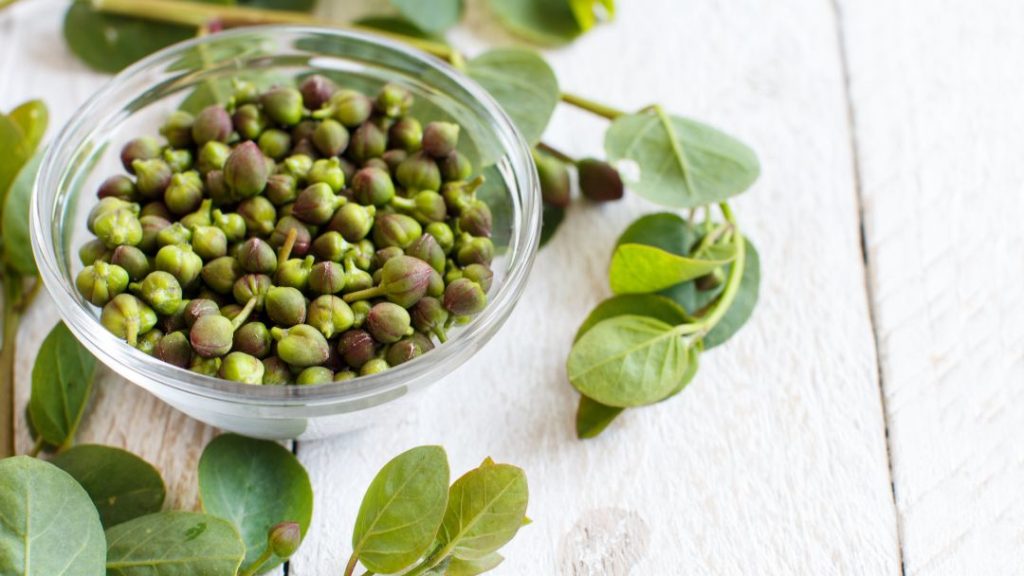
Best Practices for Preserving Harvested Capers
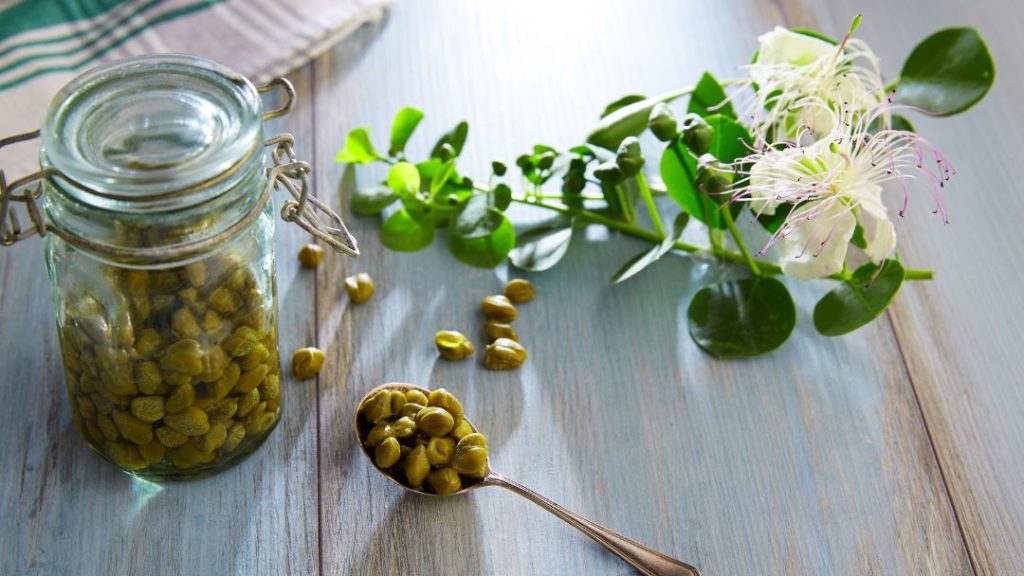
Once harvested, it’s important to preserve your caper buds properly so that they retain their flavor and texture over time. The traditional method of preserving capers is by salting them: place them in layers in a jar with coarse salt between each layer until full, then store them in a cool place.
Another preservation method is pickling: submerge your harvested capers in vinegar for a few days until they soften, then rinse off excess vinegar before storing them in olive oil or brine. Both preservation methods will give you delicious capers to use in your favorite dishes for months to come.
Troubleshooting Common Issues in Growing Caper Seeds
Identifying common pests and diseases that affect caper plants
Growing capers from seeds can be challenging due to the potential of pests and diseases that can harm your plants. Two common pests that may infest caper plants are spider mites and aphids, which are tiny insects that feed on the sap of the plant.
They can cause yellowing, curling, or distortion of leaves, reduced growth rate, and flower production in your plant. Fungal diseases like powdery mildew can also attack your plant.
This disease usually appears as a powdery white substance on the leaves. It thrives in situations where there is high humidity or dampness near the soil surface, so make sure you avoid overwatering your plant.
Solutions to prevent or treat these issues
Fortunately, there are several ways to prevent or treat pests and diseases from harming your caper plants. One effective solution is to use insecticidal soap spray which works by physically damaging the exoskeletons of these small insects when applied properly. It will also remove honeydew attracting ants away from your plants.
For fungal diseases like powdery mildew, you may opt for an organic fungicide such as Neem Oil which has antifungal and antibacterial properties, or a baking soda solution made by mixing two tablespoons of baking soda with a gallon of water with a few drops of dishwashing liquid. Prevention is always better than cure when it comes to pest control.
Therefore ensure you keep good sanitation practices in place by removing debris around the soil level while also inspecting new seedlings for any signs of infestation before planting them up. By identifying pests early on and taking quick action against them, you’ll be able to maintain healthy caper plants throughout their lifespan.
Conclusion
If you’re considering growing your own caper plant at home, we highly encourage it! Not only is it a fun and rewarding hobby, but it’s also an opportunity to add fresh flavor to your meals.
Plus, by growing your own plants at home, you have more control over how they are grown – meaning you can ensure that they are free from harmful pesticides or other chemicals. Remember that growing capers from seeds takes patience, dedication, and attention to detail.
But with persistence and proper care, your efforts will pay off with bountiful crops of delicious capers. Don’t be discouraged if things don’t go perfectly at first – gardening is all about trial and error!
We hope this article has inspired you to try growing your own caper plant from seeds. With careful planning and attention to detail throughout the germination process through harvesting time, you’ll soon have fresh capers ready to enhance any dish you prepare!